How To Create A Sticky Header Using Xpro Beaver Theme Builder
Wondering what is the effective way to enhance user experience and increased conversions? Well, implementing the sticky header on your website is the answer! Sticky header help to keep the navigation of your website easily attainable while scrolling.
In case, you are not yet aware, the Xpro theme builder comes up with advanced features to create a sticky header with a few clicks. You do not need to require any shortcodes or WP backend, it works quite simply and easily. We have a live front-end dashboard that will help you see all the changes you make right away.
Capture the interest of your visitors and generate leads by enabling the systemized sticky header. It will enhance the user experience by avoiding needless scrolling on the website. With our Beaver theme builder, you will get access to multiple customization options and can design a layout of your imagination.
Who wants to miss out on the opportunity to use FREE and powerful features?
Requirements
The only requirement is to download and install the Xpro addons for Beaver Builder- lite to get ahold of the theme builder plugin and its advanced features.
The extended documentation on how to create a custom header using Beaver theme builder is also available.
How to Enable Sticky Header Using Beaver Theme Builder
Here is the step-by-step guide on how you can enable a sticky header on your WordPress site with Xpro theme builder.
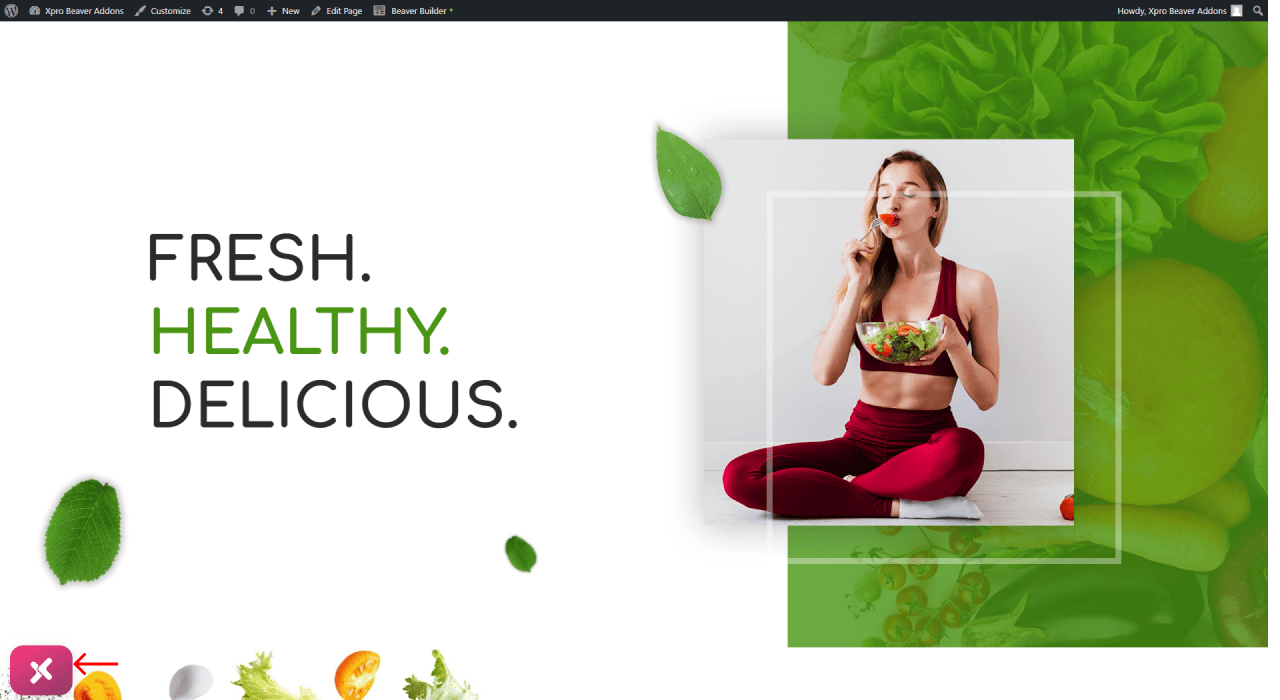
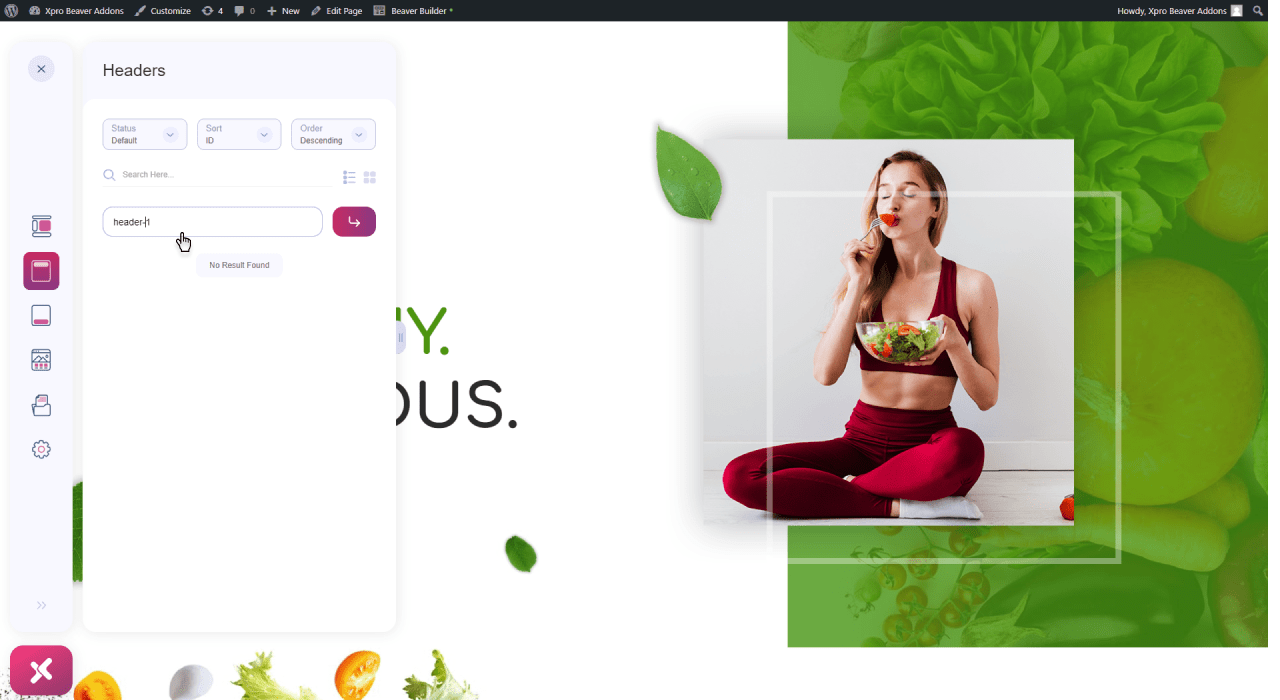
Step 1: Open Xpro Theme Builder Front-end Dashboard
Start by editing your WordPress site with beaver builder and click on the Xpro theme builder icon on the bottom left corner of the screen. All the layout customizations will be displayed on the screen.
Step 2: Edit the Header Layout
Create a new header layout or you can edit the settings of the header added previously by enabling the sticky option.
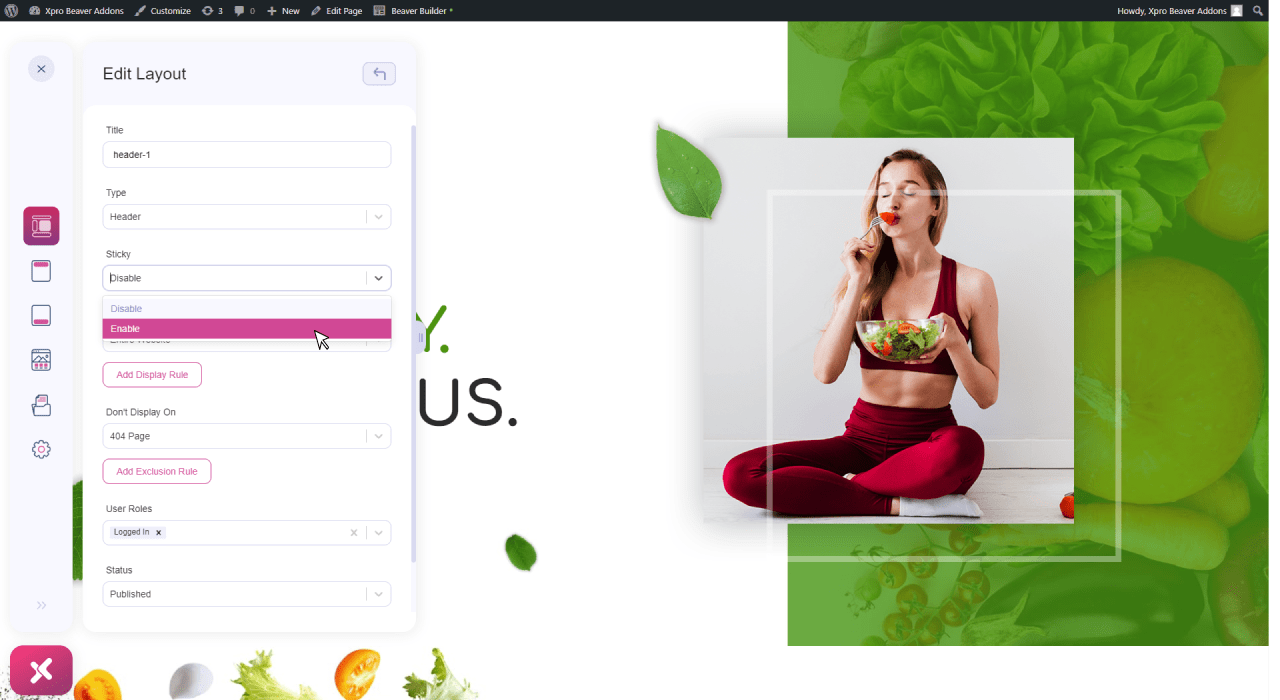
Step 3: Enable the “Sticky” Option
By clicking on the sticky option, a dropdown will appear allowing you to enable the sticky header for your WordPress website.
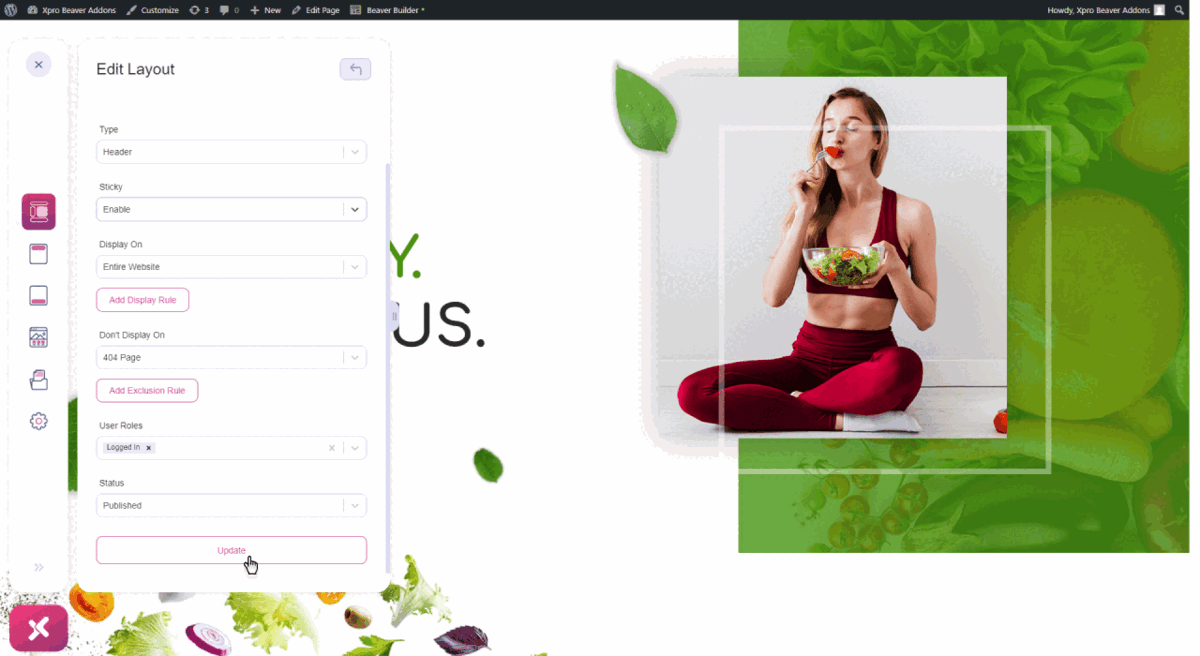
Step 4: Update and Publish
Update the new changes and publish them on the Beaver Builder site.
You can see how your sticky header will look on a live website.
How To Edit Beaver Builder Sticky Header
Once you have published your sticky header, you can edit or customize it according to your preferences. Even if your header is live and running, you can edit it anytime using our Beaver theme builder.
To update the new changes, click to edit your header in the beaver builder site and then start making custom changes to it. Customize the logo, buttons, different CTAs, or menu options the way you like.

Takeaway
This is it! Hope you have got all the information needed to design a sticky header for your website using the Beaver theme builder. You will have various custom styling options to make your footer stand out in the crowd. Make full use of all the configurations and create a stunning footer for your beaver builder website.
You can also check out our detailed documentation on how to create a custom footer.